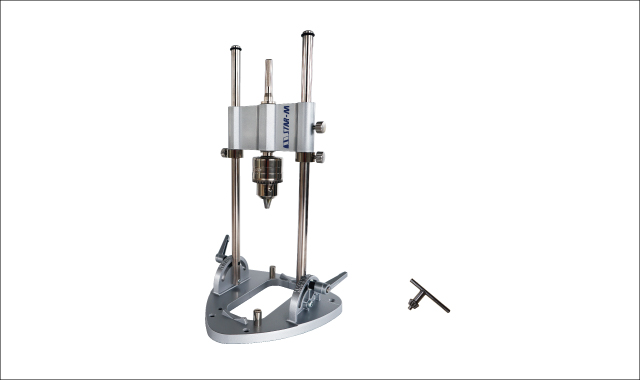
No.50R Drill Stand RULO
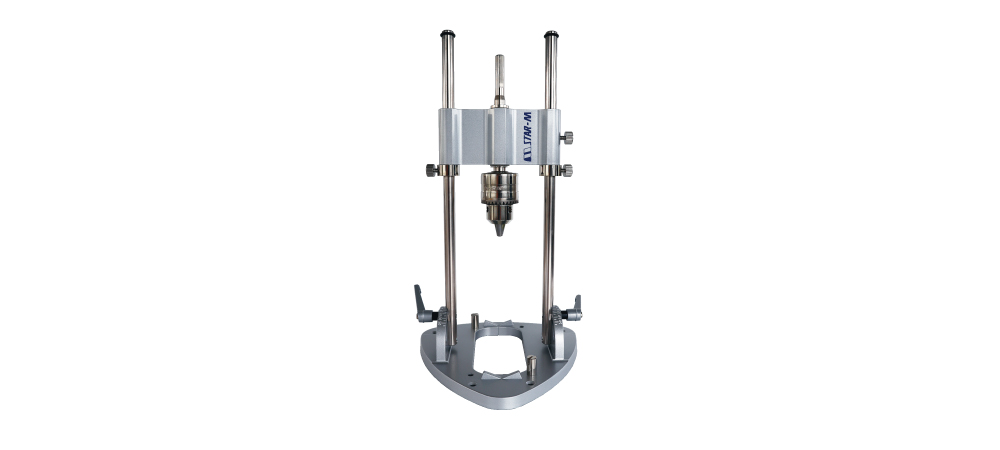
Multi-purpose drill accessory.
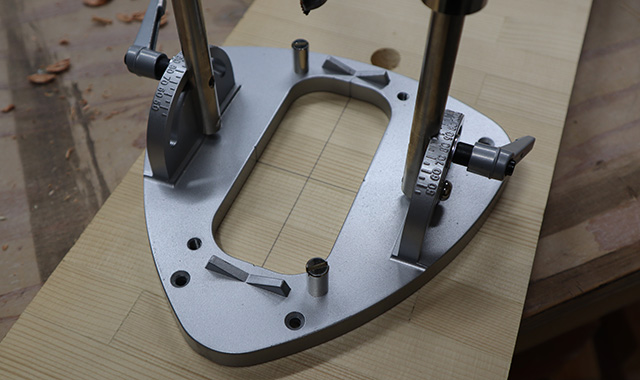
- The base comes in a special shape, offers great standing stability and positioning.
- Tabletop drilling can be useful at a lack of space and a need for portability.
- BUILT IN PROTRACTOR-Drills accurate right-angled or variable-angled holes with the built-in protractor scale.
- STYLISH DESIGN- Adopts Reuleaux triangle as an easy to use.
- ADJUSTABLE- Adjusts from 0 to 45 degrees in 5-degree increments in either direction of vertical drill position.
- POSITIVE STOP- Built-in depth stop for accurate drill depth.
Specificatons
| Material(s) | Aluminum |
|---|---|
| Recommended tool(s) |
Cordless Drill (over 14.4v) Electric Power Drill |
| Technical data | Max Diameter:57mm Max Overall Length:220mm Shank Shape:1.5mm up to 13mm |
| RPm Range | Less than 2,500 rpm |
| Shank Shape |  :Three Flats :Three Flats |
 Caution Caution |
|
Sizes
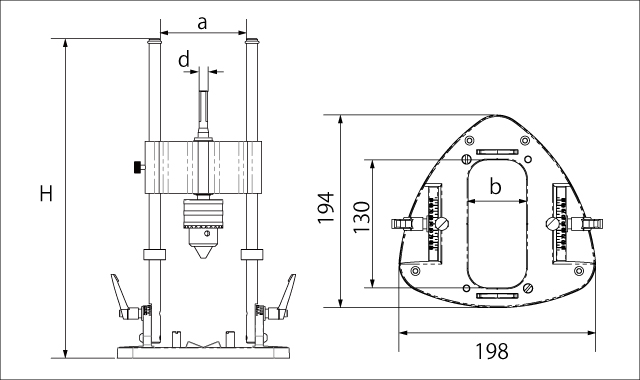
Height:H Width of Slide bar :a Inner Dia of Base:b Shank Shape:d Unit:mm
| Product No. | Height | Width of Slide bar | Inner Dia of Base | Shank Shape |
|---|---|---|---|---|
| 50R | 367.5 | 99 | 60 | 10 |
Inner Box:1pc
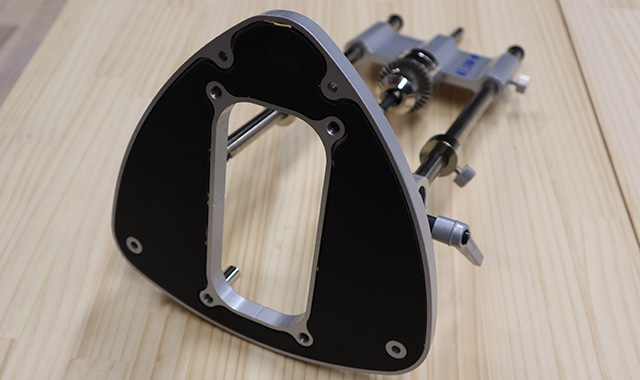
Assembly
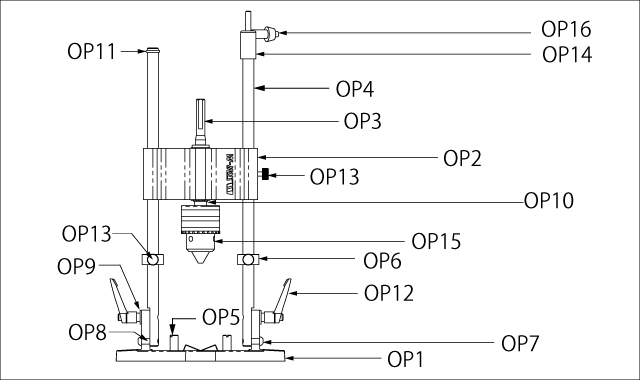


| Product No. | Parts Name |
|---|---|
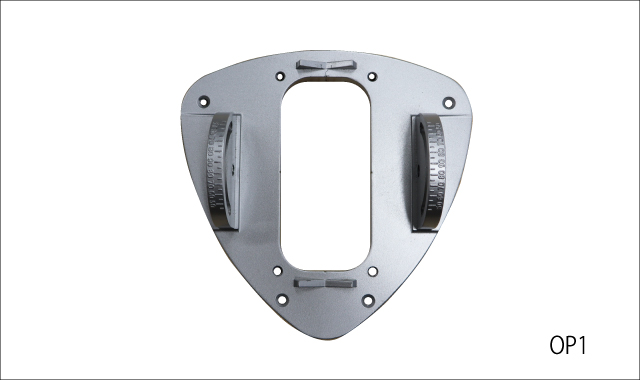
| 50R-OP1 | Base (with rubber sheet) |
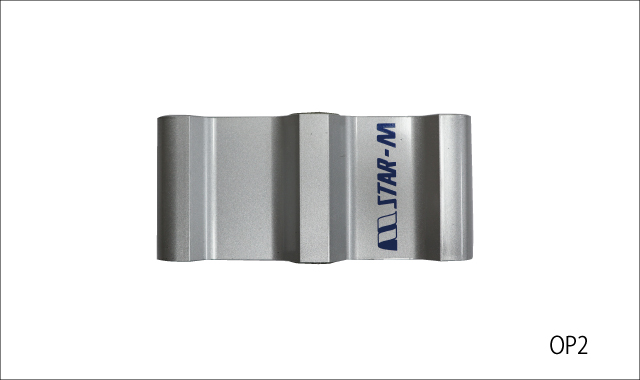
| 50R-OP2 | Guide (with bush) |
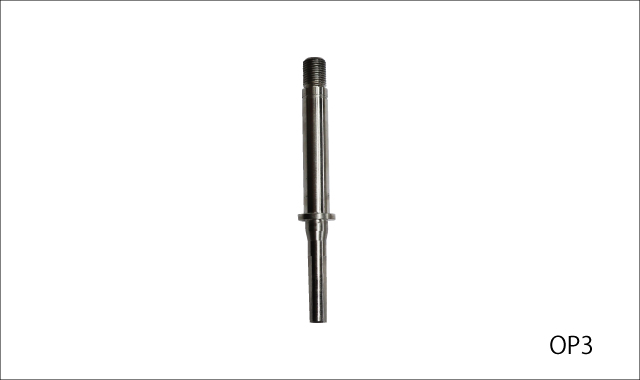
| 50R-OP3 | Main shaft |
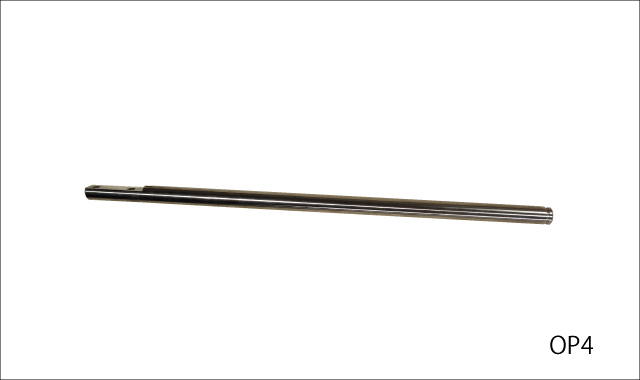
| 50R-OP4 | Guide bar |
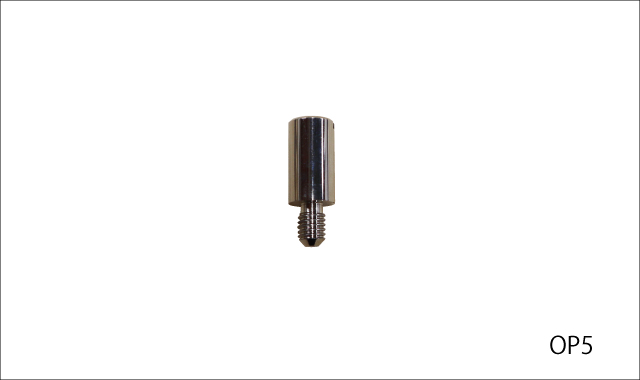
| 50R-OP5 | Lock pin |
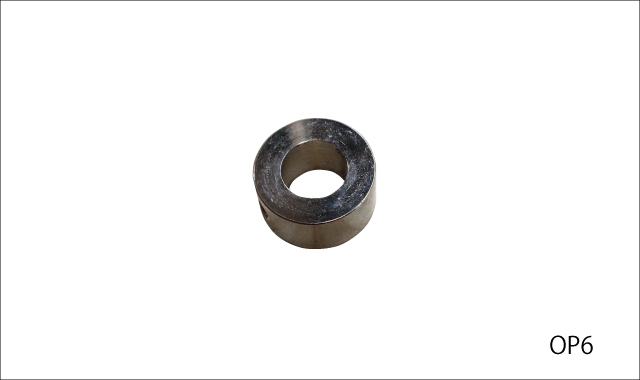
| 50R-OP6 | Stopper ring |
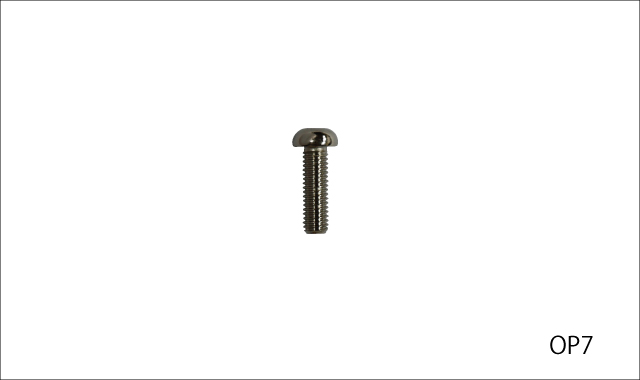
| 50R-OP7 | Hexagon socket button head bolt |
| 50R-OP8 | Spacer |
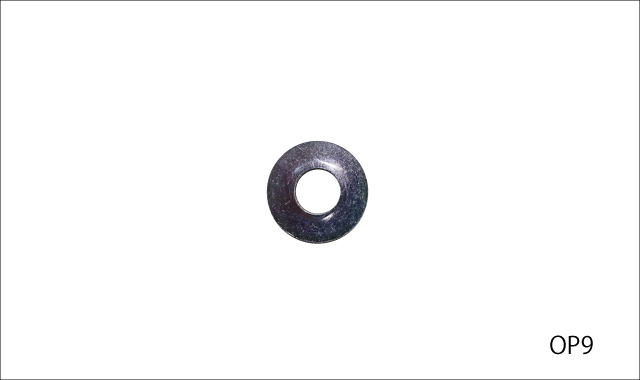
| 50R-OP9 | Plain washer |
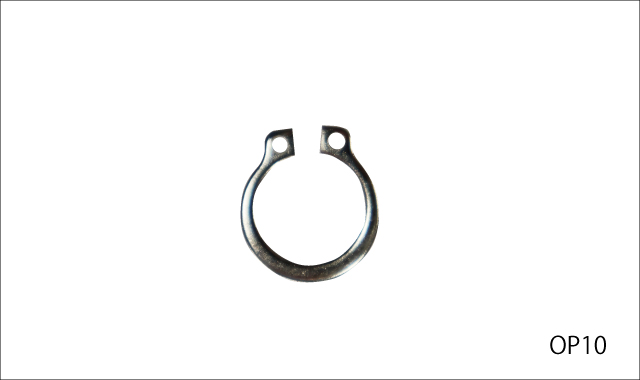
| 50R-OP10 | Shaft stopper ring |
| 50R-OP11 | O-ring |
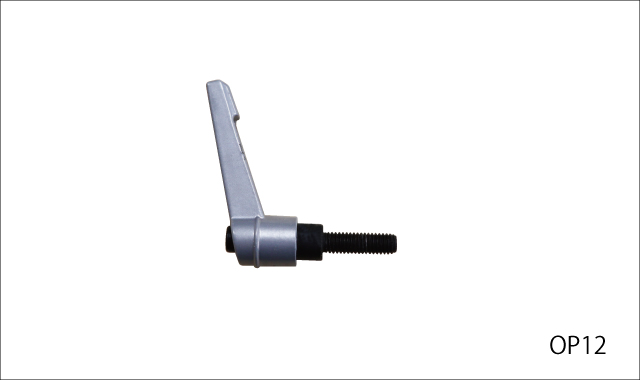
| 50R-OP12 | Cam lever |
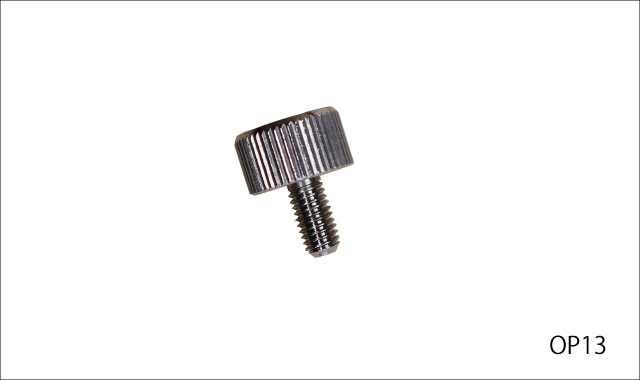
| 50R-OP13 | Set screw |
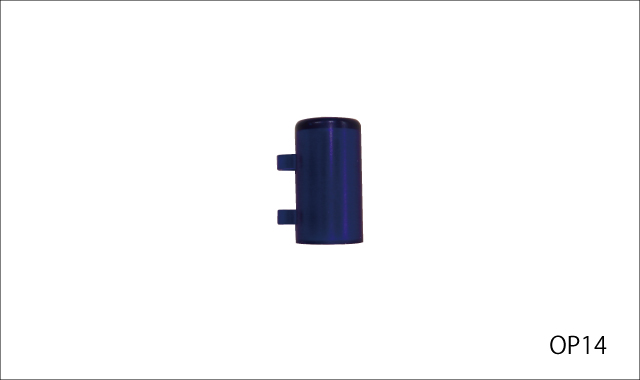
| 50R-OP14 | Chuck keychain |
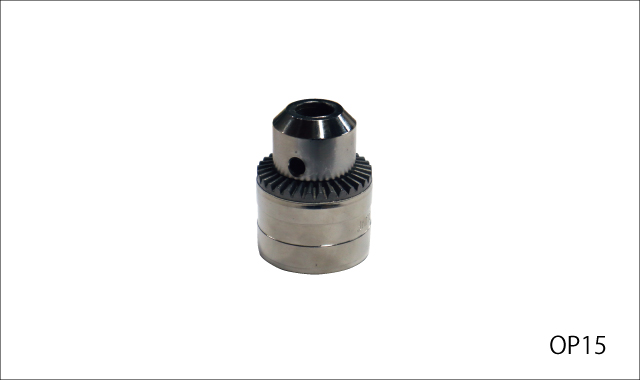
| 50R-OP15 | Drill chuck |
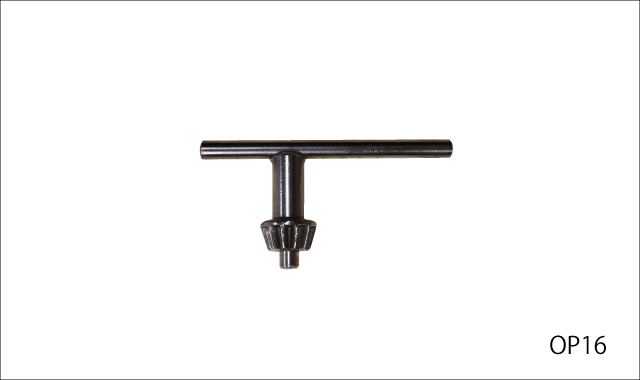
| 50R-OP16 | Chuck key |
Bits of knowledge
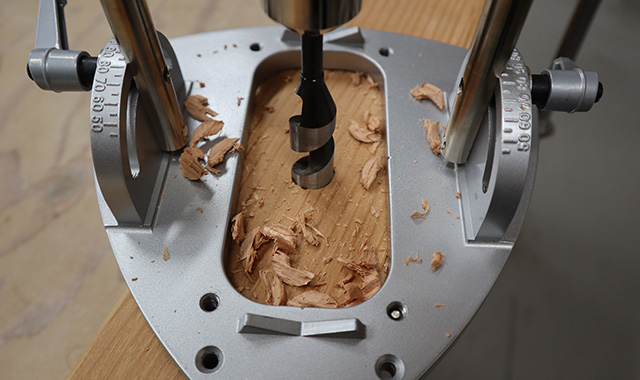
- Maximum stroke 220mm for a straight hole.
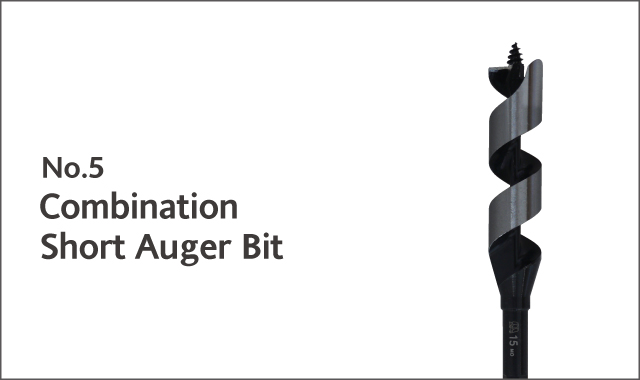
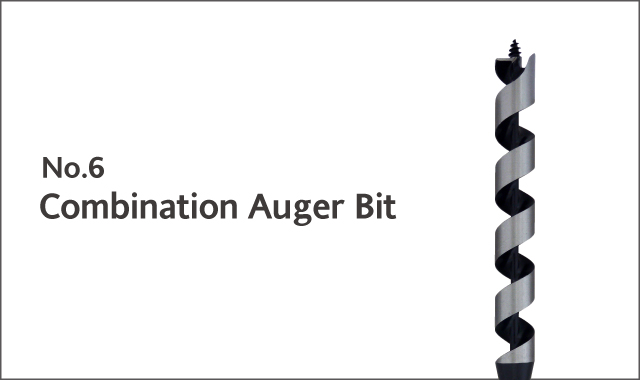
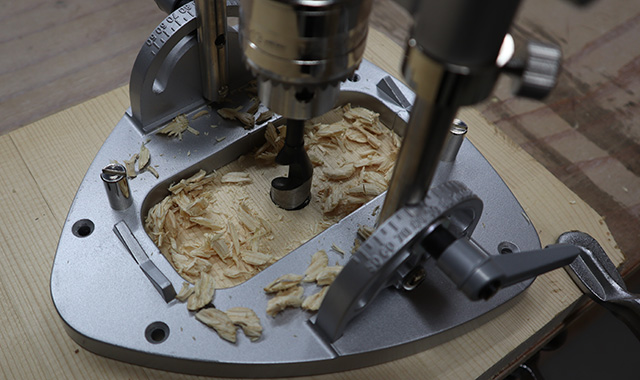
- Maximum Diameter 22mm for a 45° angled pocket hole. (Combination short auger bit and Combination auger bit)
Advantage points
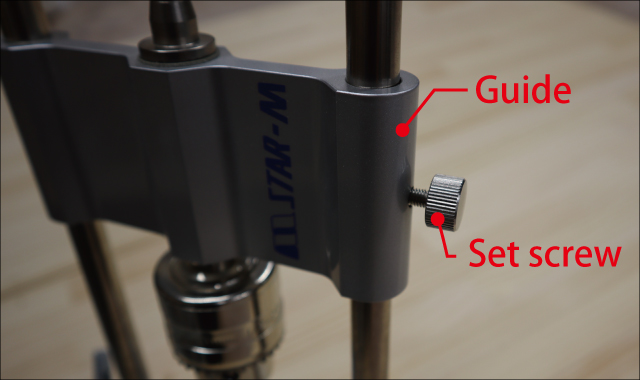
Temporary fixing
The supplied set screw is useful for temporary fixing when set up drills.

Drilling at a fixed depth
The supplied stopper ring allows drilling at a fixed depth.
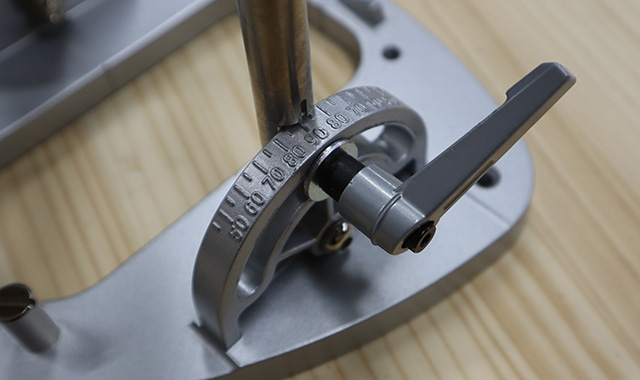
Easy to adjust angle
Lever-type handle for easy angle adjustment. The scale is marked clearly for easy to see.
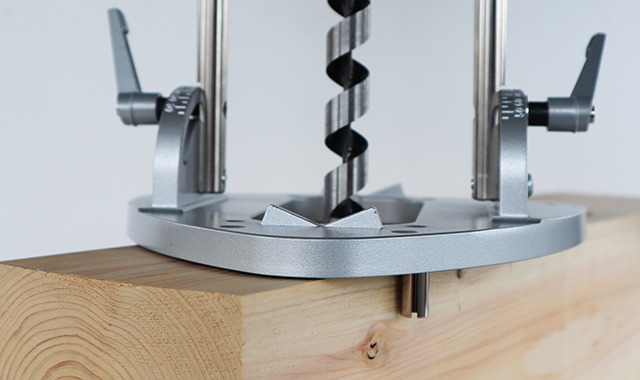
Smoother centered-hole
The gauge on the base allows to make centered holes smoothly.
Not Slippery
The bottom of the base has a rubber sheet to prevent slipping.
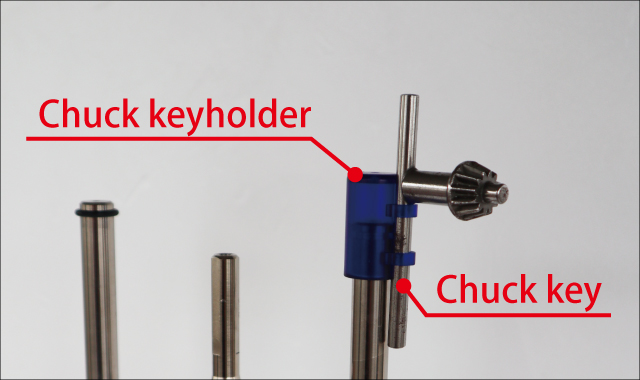
Stored Chuck key
The chuck key can be inserted into the chuck keyholder.
Centered holes in square timber
Lock pins to hold the guide securely in place on flat surfaces in square timber.
Q&A
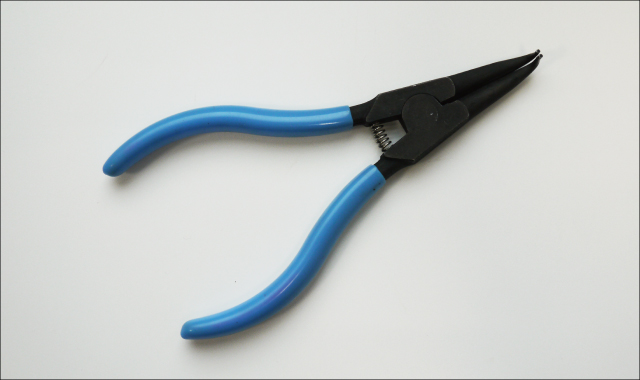
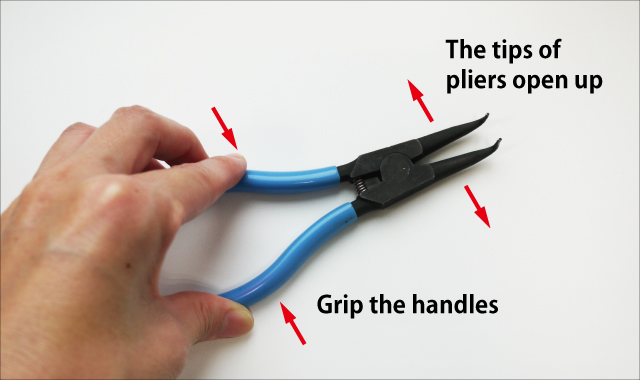
- How do I remove the Shaft stopper ring from the Drill guide?
- It can be removed using outer snapring pliers.
- Which holes are for the screw mounting the workbench and for the lock pin?
- There are four holes on the base of the Drill Stand RULO. The lock pins are inserted at the time of purchase.

- The Cam lever does not move when adjusting the size.
- Is the Cam lever turned down in the correct direction? When the Cam lever is tilted in the opposite direction, it will be tightened and may result in breakage.
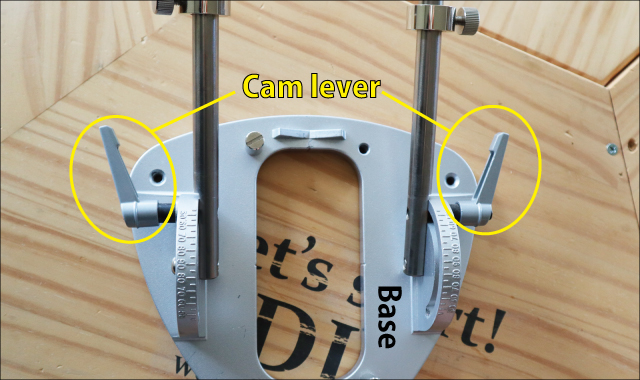
①At first, the both Cam levers lie down in the same direction (The base should be placed in an inverted triangle).
②Tilt the right Cam lever forward to loosen it.
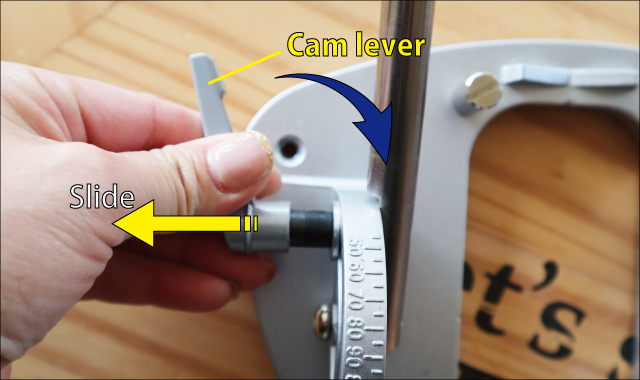
③Slide the left Cam lever outward and tilt it forward (to nearly vertical). (Slide the Cam lever to unlock so that it can more back and forth.)
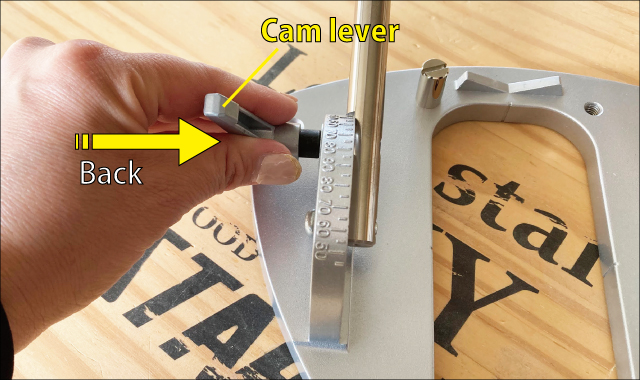
④Slide the Cam lever back and align it to the point where it clicks into place (Fix the angle).

⑤Tilt the Cam lever backward to loosen it. Adjust the angle and tighten the left and right Cam levers
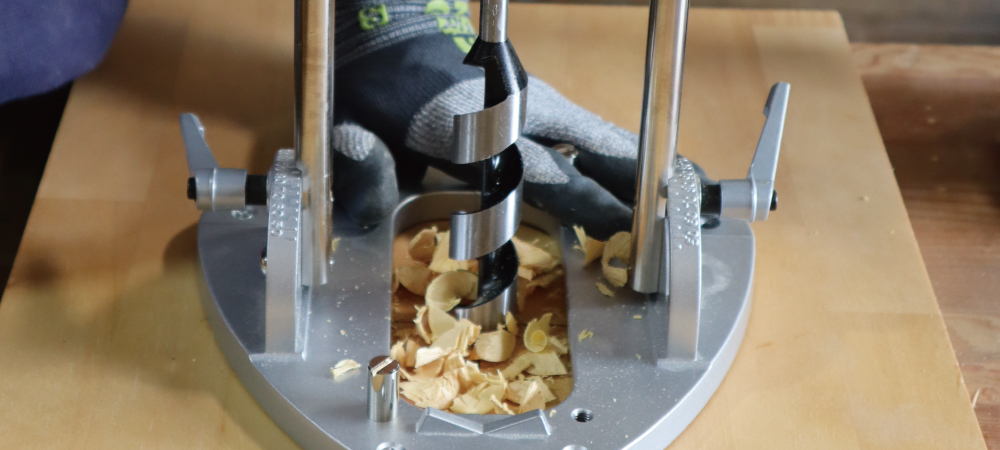
※For the left picture is shown to work without gloves, but always wear gloves during actual work.
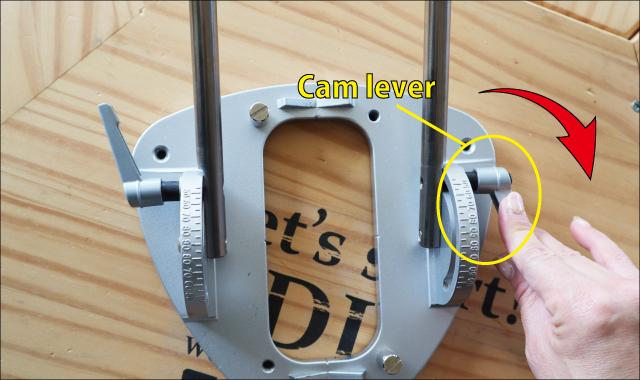
- When adjusting the angle, I cannot turn the Cam lever due to against the base.
- The Cam lever can be slid outward. When you slide it, you can turn the Cam lever.
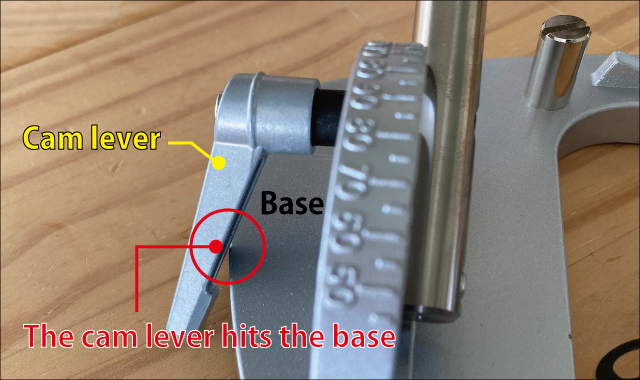
①When adjusting the angle, it may be difficult to turn the Cam lever against the base depending on the angle.
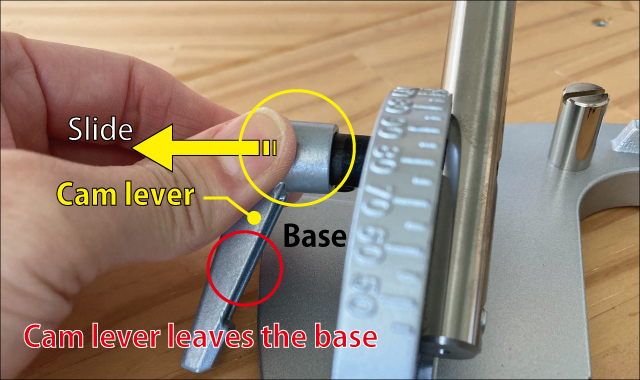
②Hold the yellow part of the Cam lever and turn it while sliding it outward, it will not hit the base part.
※For clarity, the left picture is shown to work without gloves, but always wear gloves during actual work.
Help
How to use
Straight holes
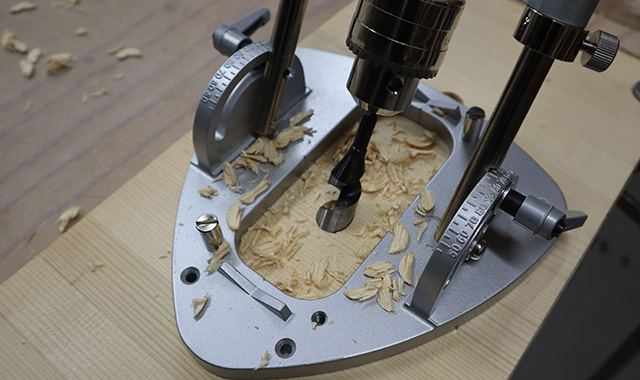
Angled pocket holes
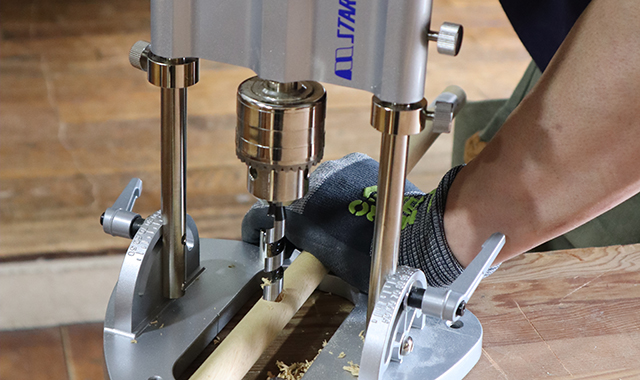
Round bar processing with V-groove
Centered holes in squared timber
Movie
Associated Product